
Playwright Setup: Install, Configure, and Run Tests
Take a Quick Look
Learn Playwright setup from scratch: install via npm, configure projects, run tests, add global setup, and fix common errors in CI.
Playwright Setup: Install, Configure, and Run Your First Test
Playwright setup takes about five minutes: install the package, download browser binaries, and run the generated example test. The tricky part comes later — configuring projects, sharing authentication state, and keeping the same setup working on a CI machine. This guide walks through the whole path, from a blank folder to a reliable test pipeline.
What Playwright Setup Actually Installs

Playwright Setup: Install, Configure, and Run Tests - What Playwright Setup Actually Installs.
When you run the initializer, Playwright does more than add a dependency. It scaffolds a working test project and downloads browser binaries for Chromium, Firefox, and WebKit.
A typical scaffold looks like this:
playwright.config.ts        # central configuration
package.json
package-lock.json           # or yarn.lock / pnpm-lock.yaml
tests/
  example.spec.ts           # minimal starter test
The playwright.config.ts file is where browsers, timeouts, retries, projects, and reporters are defined. The tests/ folder holds your specs. Browser binaries are stored outside your project so they can be reused across repositories.
System Requirements
Before you start, confirm your environment:
- Node.js: latest 22.x, 24.x, or 26.x
- Windows: Windows 11+, Windows Server 2019+, or WSL
- macOS: 14 (Sonoma) or later
- Linux: Debian 12/13 or Ubuntu 22.04/24.04/26.04 (x86-64 or arm64)
Step 1: Install Playwright
Pick the package manager you already use. The command below either initializes a new project or adds Playwright to an existing one.
npm init playwright@latest
# or
yarn create playwright
# or
pnpm create playwright
During the interactive prompt you choose:
- TypeScript or JavaScript — TypeScript is the default and gives you better editor support.
- Tests folder name —
testsby default, ore2eif atestsfolder already exists. - GitHub Actions workflow — recommended if you plan to run tests in CI.
- Install Playwright browsers — keep this on unless you manage binaries separately.
You can re-run the initializer later; it will not overwrite existing tests.
If you prefer working inside an editor, the VS Code extension can create and run tests without touching the terminal. For agent-driven workflows, a separate CLI exists that installs skills for tools like Claude Code and GitHub Copilot:
npm install -g @playwright/cli@latest
playwright-cli install
playwright-cli install --skills
This creates a .playwright directory, adds it to .gitignore, and downloads the configured browser if it is missing.
Step 2: Run the Example Test
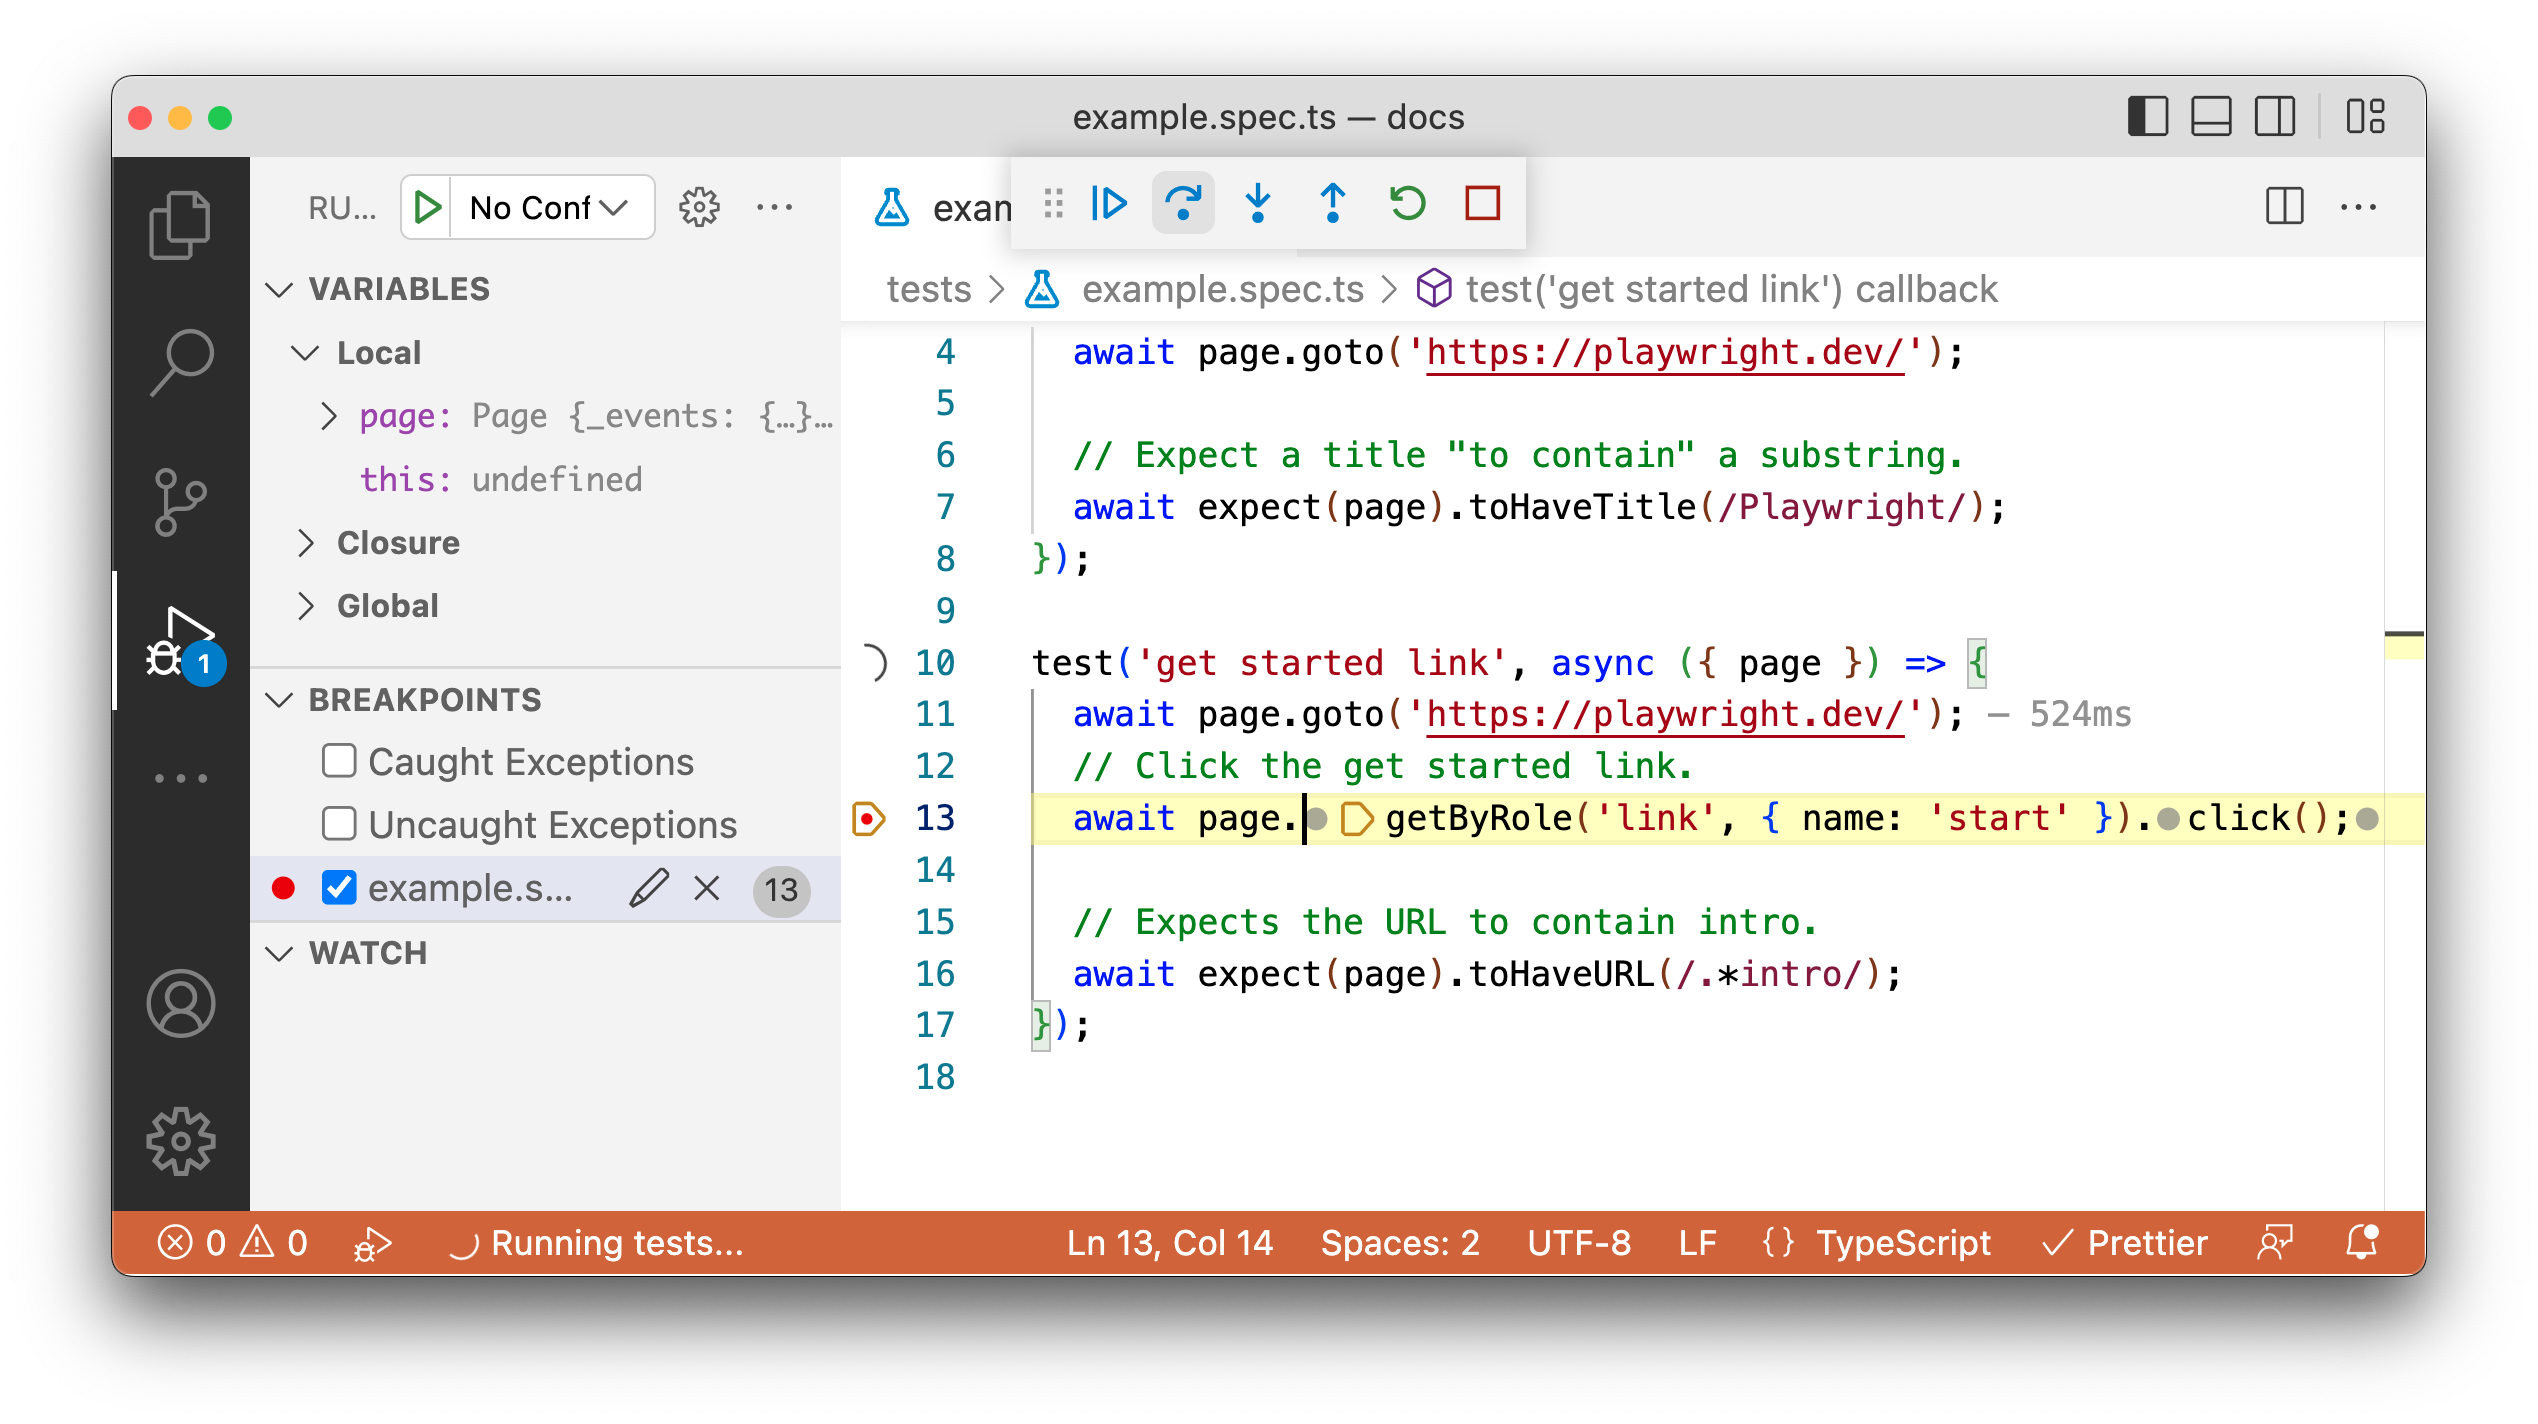
Playwright Setup: Install, Configure, and Run Tests - Step 2: Run the Example Test.
By default, tests run headless and in parallel across Chromium, Firefox, and WebKit.
npx playwright test
Useful variations:
npx playwright test --headed                 # see the browser window
npx playwright test --project=chromium       # run one browser
npx playwright test tests/example.spec.ts    # run one file
npx playwright test --ui                     # open UI mode
UI Mode gives you watch mode, a live step view, and time-travel debugging. It is the fastest way to understand why a locator failed.
Reading the HTML Report
After a run, open the report:
npx playwright show-report
The dashboard lets you filter by browser, passed, failed, skipped, and flaky. Clicking a test shows errors, attachments, and each step. The report auto-opens only when failures occur.
Step 3: Configure Projects and Browsers
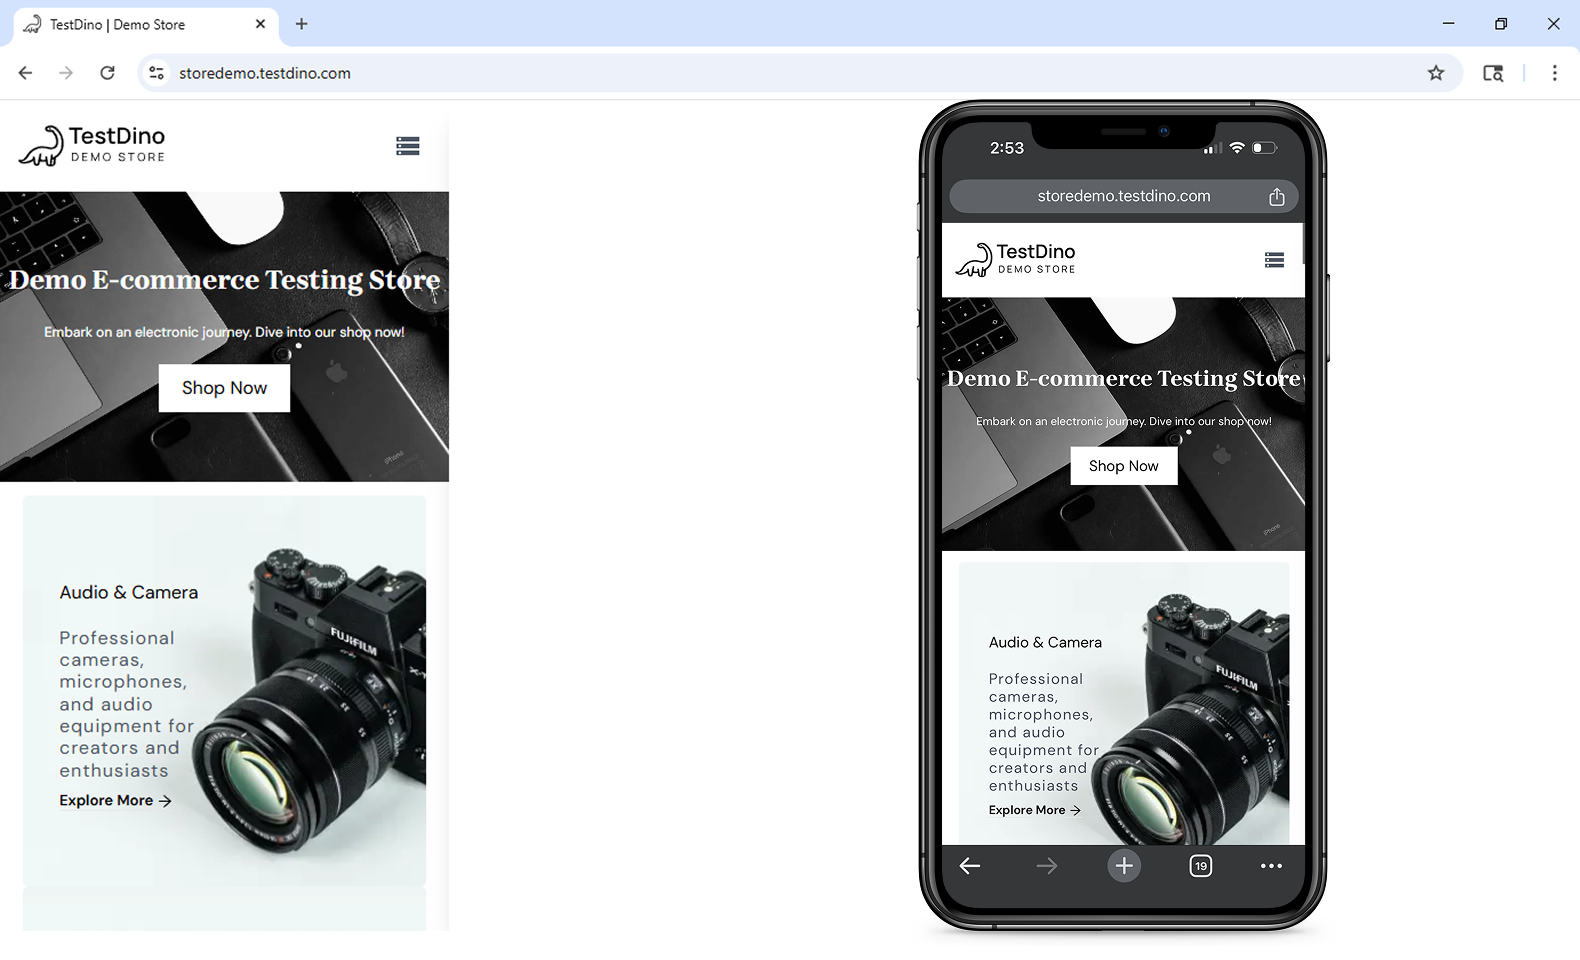
Playwright Setup: Install, Configure, and Run Tests - Step 3: Configure Projects and Browsers.
A project is a named configuration that targets a specific browser or device. Most teams start with three desktop projects and add mobile emulation when needed.
import { defineConfig, devices } from '@playwright/test';

export default defineConfig({
  testDir: './tests',
  retries: process.env.CI ? 2 : 0,
  use: {
    baseURL: 'http://localhost:3000',
  },
  projects: [
    { name: 'chromium', use: { ...devices['Desktop Chrome'] } },
    { name: 'firefox', use: { ...devices['Desktop Firefox'] } },
    { name: 'webkit', use: { ...devices['Desktop Safari'] } },
  ],
});
Retries matter in CI: a single flaky network call should not fail the build. Keep retries at zero locally so you notice real instability.
Step 4: Add Global Setup and Teardown
Most suites need something to happen once before all tests — seeding a database, logging in, or generating a token. Playwright offers two approaches, and they are not equal.
Option A: Project Dependencies (Recommended)
Define a setup project and make other projects depend on it. This integrates with the test runner, so traces are recorded and fixtures work.
import { defineConfig, devices } from '@playwright/test';

export default defineConfig({
  testDir: './tests',
  projects: [
    {
      name: 'setup db',
      testMatch: /global\.setup\.ts/,
      teardown: 'cleanup db',
    },
    {
      name: 'cleanup db',
      testMatch: /global\.teardown\.ts/,
    },
    {
      name: 'chromium with db',
      use: { ...devices['Desktop Chrome'] },
      dependencies: ['setup db'],
    },
  ],
});
Setup and teardown files are regular tests:
// tests/global.setup.ts
import { test as setup } from '@playwright/test';

setup('create new database', async () => {
  console.log('creating new database...');
});
Option B: globalSetup in the Config
The legacy option runs a single exported function before all tests. It works, but it misses HTML report visibility, trace recording, and fixture support.
import { defineConfig } from '@playwright/test';

export default defineConfig({
  globalSetup: require.resolve('./global-setup'),
  globalTeardown: require.resolve('./global-teardown'),
  use: {
    baseURL: 'http://localhost:3000/',
    storageState: 'state.json',
  },
});
A common pattern is authenticating once and saving the session:
import { chromium, type FullConfig } from '@playwright/test';

async function globalSetup(config: FullConfig) {
  const { baseURL, storageState } = config.projects[0].use;
  const browser = await chromium.launch();
  const page = await browser.newPage();
  await page.goto(baseURL!);
  await page.getByLabel('User Name').fill('user');
  await page.getByLabel('Password').fill('password');
  await page.getByText('Sign in').click();
  await page.context().storageState({ path: storageState as string });
  await browser.close();
}

export default globalSetup;
Tests then start already authenticated because storageState is loaded from state.json.
If you need traces from a failing global setup, wrap the body in
try...catchand stop tracing before rethrowing the error.
Step 5: Update Playwright and Browsers
Playwright versions are tied to specific browser builds. Update both together:
npm install -D @playwright/test@latest
npx playwright install --with-deps
Check the installed version with npx playwright --version. On Linux, --with-deps installs the system libraries browsers need — skipping it is the most common cause of CI failures.
Common Playwright Setup Problems
| Symptom | Likely Cause | Fix |
|---|---|---|
Executable doesn't exist |
Browser binaries missing or version mismatch | Run npx playwright install |
| Tests pass locally, fail in CI | Missing system dependencies | Use npx playwright install --with-deps |
| Global setup not shown in report | Using globalSetup instead of project dependencies |
Migrate to a setup project |
| Flaky tests on shared accounts | Session state reused across parallel workers | Use separate storage states per worker |
--no-deps skips setup unexpectedly |
Dependency chain ignored | Remove --no-deps or run setup explicitly |
Where Playwright Setup Meets Real-World Automation
Playwright is excellent at driving a browser, but it does not manage identity. If your tests or scrapers need to operate many accounts — marketplace seller logins, ad accounts, social profiles — each session needs an isolated fingerprint and its own proxy. That is the layer an anti-detect browser provides.
AdsPower creates isolated browser profiles with unique fingerprints across Canvas, WebGL, network, and user agent parameters, and supports proxy configuration per profile. Teams running multi-account workflows often pair it with Playwright so that each automation run starts from a clean, consistent identity rather than a shared browser state. For marketplace-specific patterns, see the walkthrough on using AdsPower with Amazon Seller Central, and for affiliate workflows, the MaxBounty multi-account guide.
This is not a replacement for Playwright setup — it is a complement. Playwright handles navigation, assertions, and reporting; the profile layer handles the account context underneath.
Related reading
- Top 10 Anti-Detect Browser & Cloud Phone Platforms 2026 - Independent 2026 ranking of the top 10 antidetect browser and cloud phone platforms, scored on fingerprint depth, mobile support, automation, and pricing.
- AdsPower vs Maskfog vs Nstbrowser: How to Choose a Fingerprint Browser in 2026 - Compare AdsPower, Maskfog, and Nstbrowser anti-detect fingerprint browsers: fingerprint capabilities, proxy options, automation, team collaboration, and pricing to help you pick the right tool for your business scale.
- AdsPower vs Kameleo: Anti-Detect Browser Comparison 2026 - AdsPower vs Kameleo compared for multi-accounting and web scraping: fingerprinting, automation, pricing, free tiers, and who each tool fits in 2026.
Sources and further reading
- Installation | Playwright - Introduction
- Global setup and teardown | Playwright - Introduction
- Installation | Playwright - Prerequisites
Frequently Asked Questions
How long does Playwright setup take?
Installation and the first passing test usually take under ten minutes on a supported OS. The initializer downloads browser binaries, which is the slowest step on a fresh machine.
Do I need to install browsers separately?
Usually no. npm init playwright@latest downloads them by default. You only need npx playwright install manually after upgrading Playwright or when setting up a machine without the initializer.
What is the difference between globalSetup and project dependencies?
Project dependencies run as a normal project, so they appear in the HTML report, record traces, and support fixtures. globalSetup is a single function that runs before everything and lacks those features. Playwright documentation recommends project dependencies.
Can Playwright run in headed mode in CI?
Yes, but CI machines usually lack a display server. Use a virtual display such as Xvfb, or keep tests headless and rely on traces and videos for debugging.
How do I run only one browser during development?
Use npx playwright test --project=chromium. This skips the other projects and shortens feedback loops significantly.
Does Playwright support mobile testing?
Yes. Playwright includes native mobile emulation for Chrome on Android and Mobile Safari, configured through device presets in your projects.
Conclusion
A solid Playwright setup is three things: a correct install, a config that matches your CI environment, and a global setup strategy that does not fight the test runner. Start with the initializer, run the example test, then add projects and a setup project as your suite grows. When your automation needs to operate multiple accounts rather than a single user session, layer in an anti-detect browser so each run has its own clean identity — and keep Playwright focused on what it does best: driving the browser and telling you what broke.


