
How to Use AdsPower with Pixelscan: Full Setup & Workflow
Take a Quick Look
Learn how to pair AdsPower anti-detect browser with Pixelscan to test fingerprints, verify proxies, and fix leaks before managing multiple accounts.
🔥 Limited-Time Offer! Save extra 10% off on your first monthly plan with code: Anitdetect10
Sign upHow to Use AdsPower with Pixelscan: Full Setup & Workflow
AdsPower creates isolated browser profiles with unique fingerprints, but how do you know each profile actually looks clean to websites? That's where Pixelscan comes in. Pixelscan is a free diagnostic tool that shows exactly what your browser exposes—IP address, fingerprint uniqueness, WebRTC leaks, DNS routing, and bot signals. Pairing the two gives you a repeatable loop: configure a profile in AdsPower, test it in Pixelscan, fix any leaks, and re-test before you log into a real account.
This guide walks through the full workflow, from installing AdsPower to interpreting Pixelscan results, with practical examples for e-commerce sellers, social media marketers, and affiliate teams running multiple accounts.
Why Pair AdsPower with Pixelscan?
Pixelscan product interface.
AdsPower and Pixelscan solve two halves of the same problem.
AdsPower is an anti-detect browser that builds isolated environments. Each profile gets its own Canvas, WebGL, User Agent, fonts, timezone, and proxy configuration. The goal is to make every profile look like a separate, real device to platforms like Amazon, Facebook, Google, and TikTok.
Pixelscan is a diagnostic platform that reads what your browser reveals. It runs over 50 checks in about 5 seconds and reports on fingerprint uniqueness, proxy transparency, DNS leaks, WebRTC exposure, IP blacklist status, and bot detection. It stores zero data and requires no registration.
Think of it this way: AdsPower is the treatment, Pixelscan is the diagnosis. Without testing, you're guessing whether a profile is clean. With Pixelscan, you get a pass/fail signal before you risk an account.
Prerequisites
Pixelscan product interface.
Before you start, make sure you have:
- An AdsPower account (the free plan supports a limited number of profiles; paid plans add more)
- At least one proxy (residential or mobile proxies work best for multi-accounting; datacenter proxies are cheaper but more likely to be flagged)
- A browser to access Pixelscan (you can run Pixelscan inside the AdsPower profile itself)
- Basic familiarity with proxy formats (host:port:username:password)
If you're new to proxies, our SOCKS5 proxy guide explains the difference between proxy types and when to use each.
Step-by-Step: Setting Up AdsPower for a Clean Profile
Step 1: Create a New Browser Profile
Open AdsPower and click New Profile. Give it a name that reflects its purpose—for example, "Amazon Seller US-01" or "Facebook Ad Account 3." Avoid generic names like "Profile 1" if you're managing dozens of accounts.
Step 2: Configure the Proxy
In the profile settings, enter your proxy details. AdsPower supports HTTP, HTTPS, and SOCKS5 proxies. For multi-account work, match the proxy's geolocation to the account's expected region. A US Amazon seller account should use a US IP; a UK Facebook account should use a UK IP.
If you're using Proxy-Cheap or a similar provider, our AdsPower with Proxy-Cheap setup guide covers the exact fields to fill in.
Step 3: Adjust Fingerprint Settings
AdsPower generates fingerprints automatically, but you can customize them. Key settings to review:
- User Agent: Match the operating system and browser version to your proxy's region. A Windows 10 Chrome user agent with a macOS-only font list is a red flag.
- Timezone: Should match the proxy's IP location. If your proxy is in New York but your timezone is Asia/Shanghai, Pixelscan will flag the mismatch.
- Language: Set to the primary language of the proxy's country (e.g., en-US for US proxies).
- WebRTC: Set to "Disabled" or "Proxy" to prevent real IP leaks.
- Canvas and WebGL: Leave these on the default noise settings unless you have a specific reason to change them.
Step 4: Save and Open the Profile
Save the profile and click Open. AdsPower launches a Chromium-based browser window with your configured fingerprint and proxy.
Step-by-Step: Testing with Pixelscan
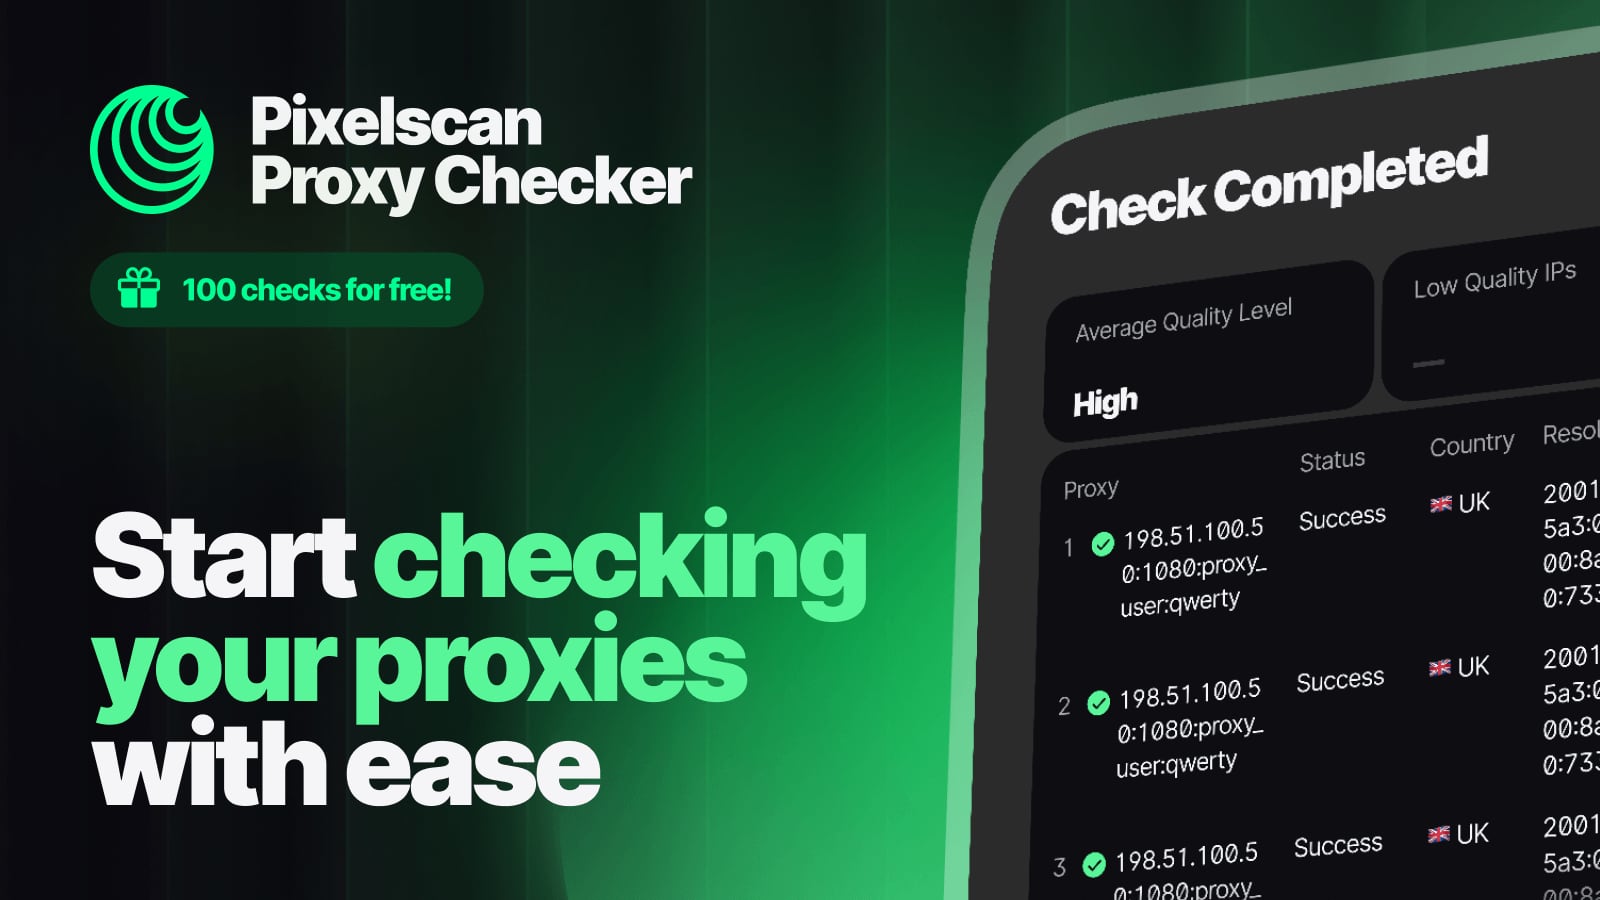
Pixelscan product interface.
Step 1: Open Pixelscan Inside the AdsPower Profile
In the AdsPower browser window, navigate to pixelscan.net. This is important: you must run the test inside the profile you want to check, not in your regular browser. Testing outside the profile tells you nothing about that profile's fingerprint.
Step 2: Run the Scan
Click Start Check. Pixelscan runs its analysis in about 5 seconds. You'll see results for:
- IP Address: Your visible IP, ISP, and geolocation
- Fingerprint: Whether your browser fingerprint looks unique or common
- Proxy: Whether your proxy is transparent (leaking your real IP) or anonymous
- DNS: Whether DNS requests are routing through your ISP instead of your proxy
- WebRTC: Whether WebRTC is exposing your real IP
- Bot Detection: Whether your browser behavior looks automated
- IP Blacklist: Whether your IP appears on public blacklists
Step 3: Interpret the Results
Pixelscan gives you a clear verdict. Here's how to read it:
Good result: IP matches proxy location, fingerprint is "consistent" or "common," no DNS or WebRTC leaks, no bot flags, IP not blacklisted.
Warning signs:
- "Proxy detected" or "Transparent proxy" — your proxy is leaking your real IP
- "DNS leak" — DNS requests are bypassing your proxy
- "WebRTC leak" — your real IP is visible through WebRTC
- "Fingerprint too unique" — your setup stands out from normal users
- "Bot detected" — your browser behavior looks automated
- "IP blacklisted" — your proxy IP is flagged by spam databases
Step 4: Fix Issues and Re-Test
If Pixelscan flags a problem, go back to AdsPower and adjust:
- Proxy leak: Switch to a higher-quality proxy (residential or mobile instead of datacenter)
- DNS leak: Enable DNS leak protection in AdsPower or use a proxy that handles DNS routing
- WebRTC leak: Set WebRTC to "Disabled" or "Proxy" in AdsPower fingerprint settings
- Fingerprint mismatch: Align timezone, language, and User Agent with the proxy's location
- Bot detection: Slow down automated actions, add random delays, or use AdsPower's RPA with human-like timing
After fixing, close the profile, reopen it, and run Pixelscan again. Repeat until you get a clean result.
Practical Examples
Example 1: E-commerce Seller Managing Amazon Accounts
A seller runs five Amazon accounts across the US, UK, and Germany. Each account needs a separate identity. The workflow:
- Create five AdsPower profiles, each with a proxy in the matching country.
- Set timezone, language, and User Agent to match each country.
- Open each profile, run Pixelscan, and verify no leaks.
- Only after a clean Pixelscan result, log into the Amazon seller account.
This prevents the common mistake of logging into an account with a mismatched fingerprint, which can trigger verification or suspension.
Example 2: Social Media Marketer Running Facebook Ad Accounts
A marketer manages 20 Facebook ad accounts for clients. Facebook is aggressive about detecting shared devices. The workflow:
- Use mobile proxies for each profile (Facebook trusts mobile IPs more than datacenter IPs).
- Configure each AdsPower profile with a unique fingerprint.
- Run Pixelscan to confirm the fingerprint looks like a real mobile device, not a bot.
- Check the IP blacklist result—if the proxy IP is flagged, replace it before using the account.
Example 3: Affiliate Marketer Testing Landing Pages
An affiliate marketer needs to test landing pages from different geolocations without triggering fraud detection. The workflow:
- Create AdsPower profiles for each target country.
- Run Pixelscan to verify the profile looks like a real user in that country.
- Test the landing page, click through the funnel, and check for geo-specific issues.
- Re-test with Pixelscan periodically to ensure the profile hasn't degraded.
Common Problems and How the Combination Solves Them
| Problem | How AdsPower Helps | How Pixelscan Helps |
|---|---|---|
| Accounts getting linked | Creates isolated fingerprints per profile | Verifies fingerprints are actually different |
| Proxy IP leaks | Integrates proxy at browser level | Detects transparent proxies and DNS leaks |
| WebRTC exposing real IP | Allows WebRTC disable/proxy settings | Confirms WebRTC is not leaking |
| Fingerprint mismatches | Lets you align timezone, language, UA | Flags inconsistencies before you log in |
| Bot detection | RPA with human-like delays | Tests whether behavior looks automated |
| Blacklisted IPs | Supports any proxy provider | Checks IP against public blacklists |
Best Practices
- Always test before logging in: Run Pixelscan inside the AdsPower profile before you access any real account. A clean test takes 5 seconds; recovering a banned account takes weeks.
- Re-test after proxy changes: If you switch proxies, re-run Pixelscan. A new proxy can introduce new leaks.
- Re-test periodically: Fingerprints can drift if you update AdsPower or change settings. Monthly checks are a good habit.
- Use multiple diagnostic tools: Pixelscan is excellent, but combining it with BrowserScan, Whoer.net, or BrowserLeaks gives you a second opinion. AdsPower's free tools page lists several options.
- Document your results: Keep a simple log of which profiles passed Pixelscan and when. This helps you spot patterns if an account gets flagged.
When to Use AdsPower vs Pixelscan

Pixelscan product interface.
These tools are complementary, not alternatives. You need both for a complete workflow.
- Use AdsPower when you need to create, manage, and isolate multiple browser profiles. It's the environment builder.
- Use Pixelscan when you need to verify that an environment looks clean to websites. It's the auditor.
- Use both when you're managing accounts that matter—e-commerce stores, ad accounts, social media profiles, or any account where a ban would cost you money.
If you're evaluating anti-detect browsers, our AdsPower vs Multilogin vs Dolphin Anty comparison breaks down fingerprinting, automation, and pricing.
Related reading
- SMS-Activate Review: What It Was and What to Use Now - An evidence-based SMS-Activate review: how the virtual number service worked, its strengths and limits, and what the 2025 shutdown means for users.
Sources and further reading
- Pixelscan Review 2026: Features, Uses & Best Alternatives - Pixelscan lets you check your IP and fingerprint; discover the best alternatives of Pixelscan to enhance security and privacy online.
- Detect Browser Fingerprint and Internet Bot with Pixelscan - Learn if your browser’s fingerprint is unique and how it impacts your online privacy. Test it now with Pixelscan.
FAQ
Can I run Pixelscan inside AdsPower?
Yes. Open the AdsPower profile, navigate to pixelscan.net, and run the scan. This tests the exact fingerprint and proxy configuration that the profile will use.
Does Pixelscan store my data?
No. Pixelscan states that it stores zero data and requires no registration. It only reads the technical details your browser already shares with websites.
How often should I test my AdsPower profiles with Pixelscan?
Test before first use, after any proxy or fingerprint change, and periodically (monthly is reasonable) to catch drift. If an account gets flagged, test immediately.
What if Pixelscan shows my fingerprint is too unique?
A unique fingerprint isn't always bad, but it makes you easier to track. In AdsPower, you can adjust fingerprint settings to blend in better—match common User Agents, align timezone and language with your proxy, and avoid unusual screen resolutions.
Can Pixelscan hide my IP address?
No. Pixelscan only shows what's visible. To mask your IP, you need a proxy, VPN, or anti-detect browser like AdsPower.
Is Pixelscan free?
Yes. Pixelscan's core checks are free and require no account. There's also a Firefox extension for quick checks.
What's the difference between Pixelscan and BrowserScan?
Both are fingerprint and privacy diagnostic tools. Pixelscan focuses on fingerprint uniqueness, proxy detection, and bot signals. BrowserScan offers similar checks with a different scoring system. Many users run both for cross-verification.
Conclusion
AdsPower and Pixelscan form a practical privacy stack for anyone managing multiple online accounts. AdsPower builds isolated, fingerprint-consistent browser profiles. Pixelscan verifies that those profiles actually look clean to websites—no IP leaks, no DNS leaks, no WebRTC exposure, no bot flags.
The workflow is simple: create a profile in AdsPower, configure the proxy and fingerprint, open the profile, run Pixelscan, fix any issues, and re-test. Once you get a clean result, you can log into your account with confidence.
For teams running e-commerce stores, social media campaigns, or affiliate operations, this five-second test can be the difference between a productive account and a banned one. Start with the free plans, build your testing habit, and scale from there.
If you're also managing crypto airdrops, our AdsPower with AirdropAlert guide shows how to extend this workflow to airdrop farming.