
How to Use AdsPower Fingerprint Browser with Python
Take a Quick Look
Learn how to automate AdsPower fingerprint browser with Python using HTTP API, Selenium, and MCP protocol. Step-by-step guide with code examples.
🔥 Limited-Time Offer! Save extra 10% off on your first monthly plan with code: Anitdetect10
Sign upHow to Use AdsPower Fingerprint Browser with Python
Managing multiple online accounts without triggering platform bans is a constant challenge for e-commerce sellers, affiliate marketers, and social media managers. AdsPower fingerprint browser solves the fingerprint isolation problem, but manually opening and controlling dozens of browser profiles is tedious. That's where Python comes in.
By combining AdsPower's local API with Python scripts, you can automate the entire lifecycle of browser profiles—creating, opening, controlling, and closing them programmatically. This guide walks you through the practical steps, from basic API calls to advanced automation using Selenium and the MCP protocol.
Why Automate AdsPower with Python?
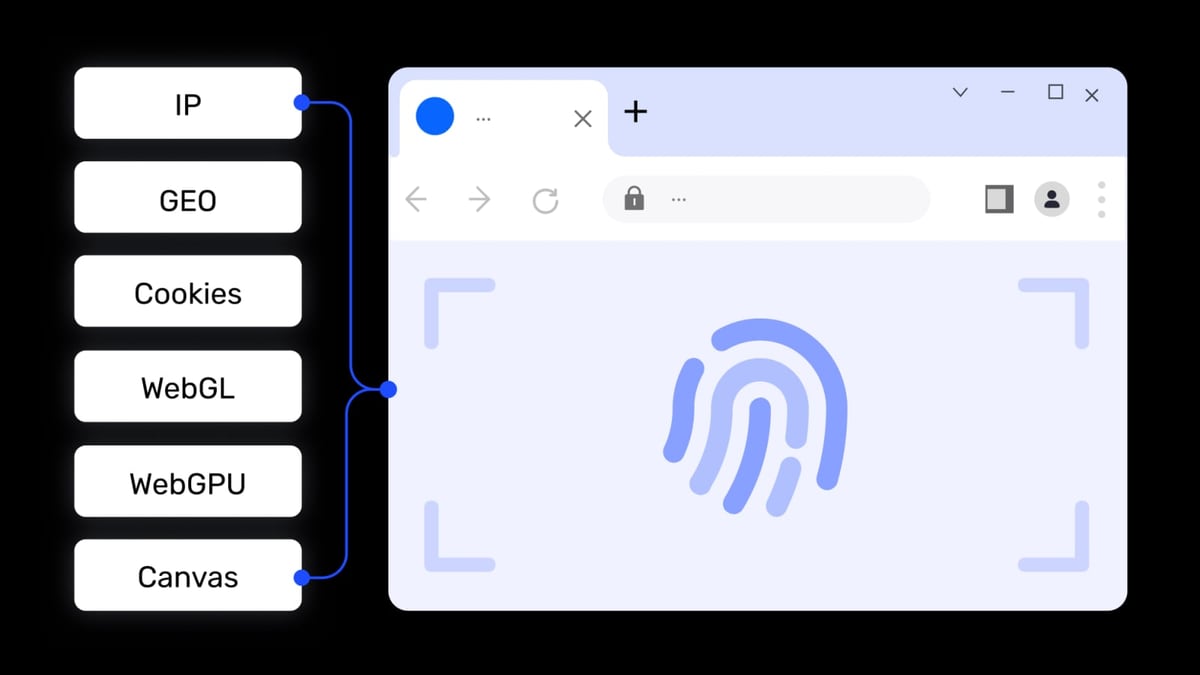
How to Use AdsPower Fingerprint Browser with Python product interface and feature overview.
AdsPower provides isolated browser environments with unique digital fingerprints, but its graphical interface is designed for manual operation. Python adds a layer of automation that lets you:
- Create and configure browser profiles in bulk – Set up hundreds of profiles with different proxies, fingerprints, and cookies automatically.
- Control browser actions programmatically – Navigate to URLs, fill forms, click buttons, and scrape data without human intervention.
- Integrate with existing workflows – Connect AdsPower to your Python-based data pipelines, monitoring systems, or AI agents.
- Scale account management – Run simultaneous operations across multiple browser profiles from a single script.
Understanding the AdsPower Local API
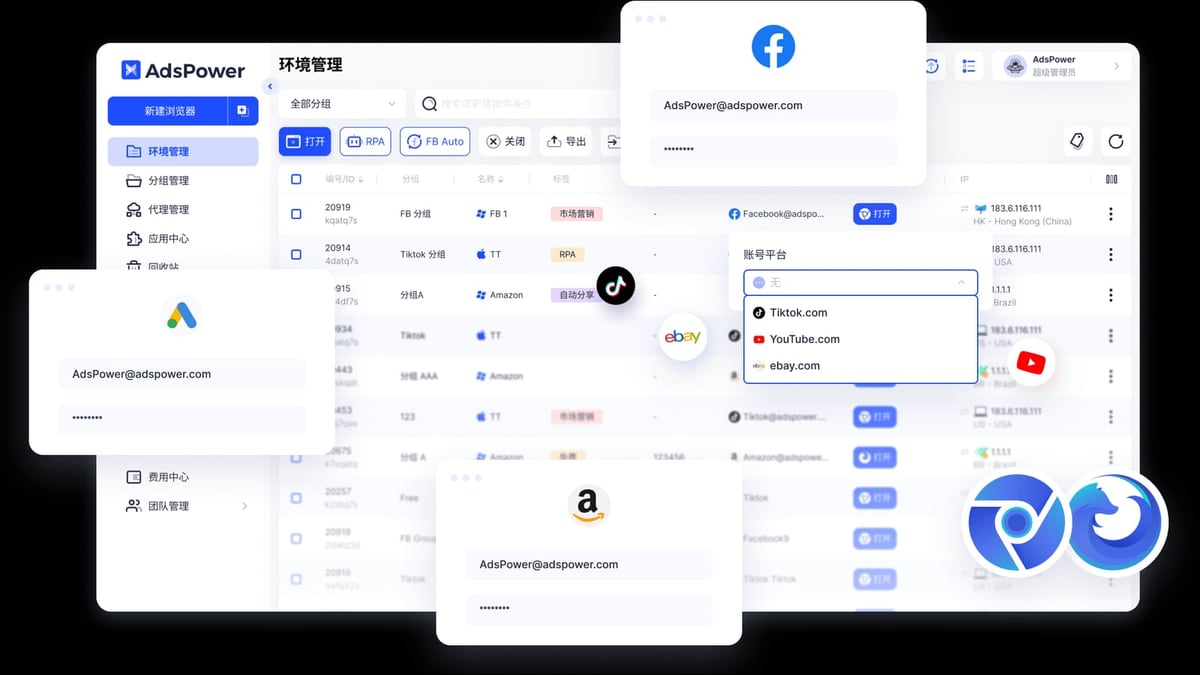
How to Use AdsPower Fingerprint Browser with Python product interface and feature overview.
AdsPower exposes a local HTTP API that runs on your machine. By default, it listens on http://127.0.0.1:50325 (or 50360 depending on your version). This API allows you to manage browser profiles and control browser instances.
Key API Endpoints
| Endpoint | Method | Purpose |
|---|---|---|
/api/v1/user/list |
GET | List all browser profiles |
/api/v1/user/create |
POST | Create a new browser profile |
/api/v1/browser/start |
GET | Start a browser profile and get debug port |
/api/v1/browser/stop |
GET | Stop a running browser instance |
/api/v1/user/update |
POST | Update profile details like remark or proxy |
/api/v1/group/list |
GET | List profile groups |
All API calls are made to http://127.0.0.1:<port>. The port depends on your AdsPower settings (default is 50325 for newer versions).
Prerequisites
How to Use AdsPower Fingerprint Browser with Python product interface and feature overview.
Before writing any code, ensure you have:
- AdsPower installed – Download from adspower.net and create at least one browser profile.
- Python 3.8+ installed on your system.
- Required Python packages – Install
requestsand optionallyseleniumorplaywright.
pip install requests selenium
- AdsPower Local API enabled – Go to AdsPower Settings > API Settings and note the port number. Keep the default port or change it as needed.
Step 1: Listing Browser Profiles with Python
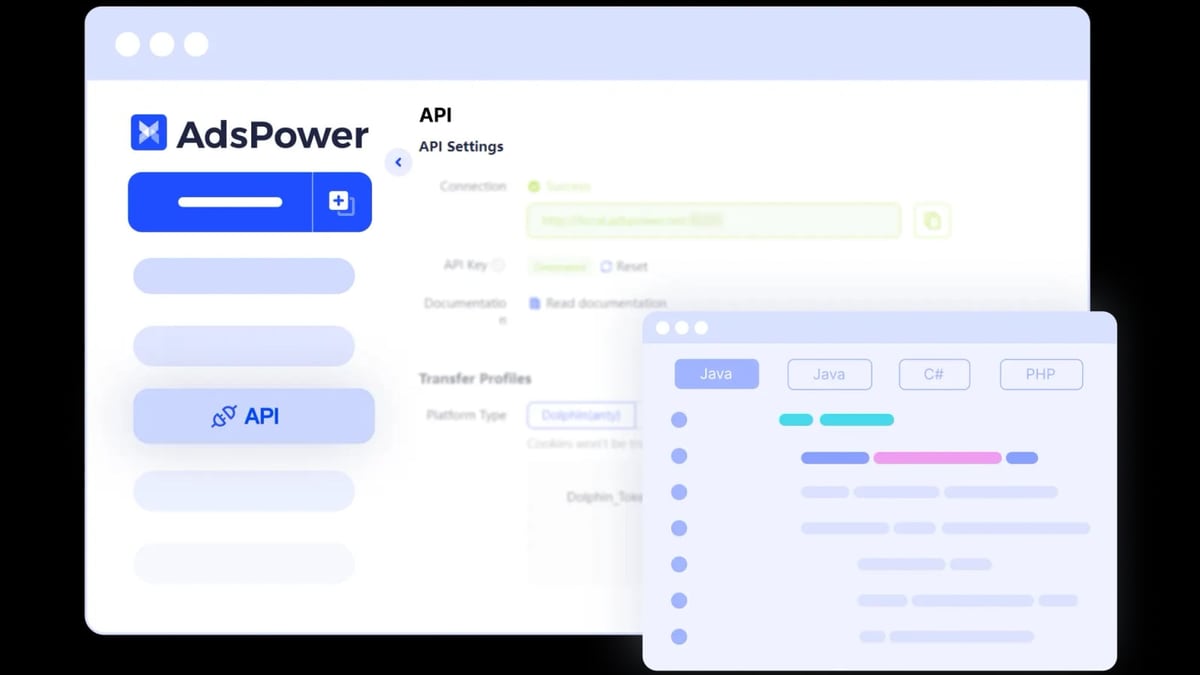
How to Use AdsPower Fingerprint Browser with Python product interface and feature overview.
The first step is to verify that your Python script can communicate with AdsPower. Start by listing all existing browser profiles.
import requests

# AdsPower local API base URL
base_url = "http://127.0.0.1:50325"

# Get list of all browser profiles
response = requests.get(f"{base_url}/api/v1/user/list", params={"page": 1, "page_size": 100})
profiles = response.json()

if profiles["code"] == 0:
    for profile in profiles["data"]["list"]:
        print(f"ID: {profile['user_id']}, Name: {profile['name']}, Proxy: {profile.get('proxy', 'None')}")
else:
    print("Error:", profiles["msg"])
This script returns the user ID, name, and proxy configuration for each profile. The user_id is essential for subsequent operations.
Step 2: Creating a New Browser Profile with a Proxy
Creating a profile programmatically allows you to assign unique proxies and fingerprint settings. Below is an example that creates a profile with a specified SOCKS5 proxy.
import requests
import json

base_url = "http://127.0.0.1:50325"

# Proxy configuration
proxy_config = {
    "proxy_type": "socks5",
    "proxy_host": "192.168.1.100",
    "proxy_port": "1080",
    "proxy_user": "username",
    "proxy_password": "password"
}

# Profile data
profile_data = {
    "name": "My Automated Profile",
    "group_id": "",  # optional: assign to a group
    "proxy_config": proxy_config,
    "fingerprint_config": {
        "language": ["en-US"],
        "timezone": "America/New_York",
        "resolution": "1920x1080"
    }
}

response = requests.post(f"{base_url}/api/v1/user/create", json=profile_data)
result = response.json()

if result["code"] == 0:
    print(f"Profile created successfully. ID: {result['data']['id']}")
else:
    print(f"Failed to create profile: {result['msg']}")
You can customize fingerprint parameters like WebGL, Canvas, Audio, and WebRTC by adding them to fingerprint_config.
Step 3: Starting a Browser Profile and Getting the Debug Port
To control a browser instance, you first need to start it and obtain its remote debugging port. AdsPower's API returns a debug_port that you can use with Selenium or Playwright.
import requests

base_url = "http://127.0.0.1:50325"
user_id = "your_profile_id_here"  # replace with actual ID

# Start the browser
response = requests.get(f"{base_url}/api/v1/browser/start", params={"user_id": user_id})
result = response.json()

if result["code"] == 0:
    debug_port = result["data"]["debug_port"]
    print(f"Browser started. Debug port: {debug_port}")
    # Now you can connect Selenium to this port
else:
    print(f"Failed to start browser: {result['msg']}")
The debug_port is the key to connecting external automation tools.
Step 4: Controlling the Browser with Selenium
Once you have the debug port, you can attach Selenium to the already-running browser instance. This preserves the unique fingerprint while allowing full automation.
from selenium import webdriver
from selenium.webdriver.chrome.options import Options

# Use the debug port from the previous step
debug_port = "12345"  # replace with actual port

chrome_options = Options()
chrome_options.add_experimental_option("debuggerAddress", f"127.0.0.1:{debug_port}")

driver = webdriver.Chrome(options=chrome_options)

# Now you can control the browser
driver.get("https://example.com")
print(driver.title)

# Perform actions like login, form filling, etc.
# ...

driver.quit()
This approach is ideal for tasks that require human-like interaction, such as logging into social media accounts or submitting forms on e-commerce platforms.
Step 5: Automating a Complete Workflow
Let's combine everything into a practical example: creating a profile, starting it, logging into a website, and taking a screenshot.
import requests
from selenium import webdriver
from selenium.webdriver.chrome.options import Options
import time

base_url = "http://127.0.0.1:50325"

# Step 1: Create profile
profile_data = {
    "name": "Workflow Test",
    "proxy_config": {
        "proxy_type": "http",
        "proxy_host": "proxy.example.com",
        "proxy_port": "3128"
    }
}
create_resp = requests.post(f"{base_url}/api/v1/user/create", json=profile_data)
user_id = create_resp.json()["data"]["id"]
print(f"Created profile: {user_id}")

# Step 2: Start browser
start_resp = requests.get(f"{base_url}/api/v1/browser/start", params={"user_id": user_id})
debug_port = start_resp.json()["data"]["debug_port"]
print(f"Browser started on port {debug_port}")

# Step 3: Connect Selenium
chrome_options = Options()
chrome_options.add_experimental_option("debuggerAddress", f"127.0.0.1:{debug_port}")
driver = webdriver.Chrome(options=chrome_options)

# Step 4: Perform actions
driver.get("https://httpbin.org/ip")
time.sleep(2)
print("Page loaded:", driver.find_element("tag name", "body").text)

# Step 5: Take screenshot
driver.save_screenshot("profile_screenshot.png")
print("Screenshot saved")

# Step 6: Clean up
driver.quit()
requests.get(f"{base_url}/api/v1/browser/stop", params={"user_id": user_id})
print("Browser stopped")
This script demonstrates a complete cycle: create, start, automate, screenshot, and stop. You can extend it to loop over multiple profiles for bulk operations.
Advanced: Using the MCP Protocol for Page Automation
AdsPower also supports the Model Context Protocol (MCP), which provides a more structured way to control browsers. Instead of manually managing debug ports, MCP exposes tools like navigate, click-element, and fill-input.
Setting Up MCP with Python
- Install the MCP Python SDK:
pip install mcp
- Start the AdsPower MCP Server (requires Node.js):
npx -y local-api-mcp-typescript
- Connect from Python:
from mcp import ClientSession, StdioServerParameters
from mcp.client.stdio import stdio_client

async def main():
    server_params = StdioServerParameters(
        command="npx",
        args=["-y", "local-api-mcp-typescript"],
        env={"PORT": "50325", "API_KEY": "your_api_key"}
    )

    async with stdio_client(server_params) as (read, write):
        async with ClientSession(read, write) as session:
            await session.initialize()

            # Open a browser profile
            result = await session.call_tool("open-browser", {"user_id": "profile_id"})
            print(result)

            # Navigate to a URL
            await session.call_tool("navigate", {"url": "https://example.com"})

            # Click an element
            await session.call_tool("click-element", {"selector": "#login-button"})

import asyncio
asyncio.run(main())
MCP is particularly useful when you need to integrate AdsPower automation into larger AI-driven systems or when you want a cleaner abstraction over raw CDP commands.
Common Problems and Solutions
API Connection Refused
- Ensure AdsPower is running and the Local API is enabled.
- Check that the port in your script matches AdsPower's API Settings.
- If using a firewall, allow connections to the local API port.
Browser Fails to Start
- Verify the profile ID exists.
- Check that the proxy configuration is valid.
- Look at AdsPower's logs for detailed error messages.
Selenium Cannot Connect to Debug Port
- Make sure you start the browser via the API before connecting.
- Use the exact
debug_portreturned by the start endpoint. - If using multiple profiles, ensure each has a unique port.
MCP Server Not Found
- Install Node.js and ensure
npxis in your PATH. - Run
npx -y local-api-mcp-typescriptmanually first to verify it works. - Check that the API key is correct.
Related reading
- Top 10 Cloud-Based Messaging Apps 2026 - Our 2026 ranking of the 10 best cloud-based messaging apps. Transparent criteria, evidence-based reviews, and decision guidance for teams and individuals.
- How to Use AdsPower with Proxy-Seller: Step-by-Step Setup Guide - Learn how to set up Proxy-Seller proxies in AdsPower fingerprint browser. Step-by-step guide, troubleshooting tips, and real-world use cases.
Frequently Asked Questions
Can I run multiple browser profiles simultaneously with Python? Yes. Start each profile via the API, collect their debug ports, and connect separate Selenium instances to each port. Use threading or asyncio to manage them concurrently.
Do I need to install a different browser driver for AdsPower? No. AdsPower uses Chromium under the hood, so the standard ChromeDriver works. Just ensure the ChromeDriver version matches the Chromium version used by AdsPower.
Is it possible to modify fingerprint parameters after profile creation?
Yes. Use the /api/v1/user/update endpoint to change proxy, fingerprint settings, or remarks. Some fingerprint changes may require restarting the browser.
How does this compare to using AdsPower's built-in RPA? AdsPower's RPA is great for simple, no-code workflows. Python automation gives you more flexibility, custom logic, and integration with external systems. For complex or data-intensive tasks, Python is the better choice.
Conclusion
Combining AdsPower's fingerprint browser with Python unlocks powerful automation capabilities for multi-account management. Whether you're creating profiles in bulk, automating login sequences, or building a full account management dashboard, the AdsPower local API provides all the hooks you need.
Start with the basic API calls to list and create profiles, then move to Selenium integration for page-level automation. For more advanced use cases, explore the MCP protocol to build AI-driven workflows. With these tools, you can manage hundreds of accounts efficiently while keeping each one isolated with a unique digital fingerprint.
For more comparisons and alternatives, check out our AdsPower vs Undetectable: 2026 Anti-Detect Browser Comparison and AdsPower vs VMLogin vs Kameleo: 2026 Anti-Detect Browser Face-Off. If you need reliable proxies for your profiles, our SOAX Review 2026 covers pricing and performance benchmarks.