
How to Use AdsPower Fingerprint Browser with BrowserScan (Setup Guide)
Take a Quick Look
Learn to set up AdsPower fingerprint browser profiles and verify them with BrowserScan to prevent IP leaks, WebRTC leaks, and fingerprint mismatches. Step-by-step workflow.
🔥 Limited-Time Offer! Save extra 10% off on your first monthly plan with code: Anitdetect10
Sign upHow to Use AdsPower Fingerprint Browser with BrowserScan – The Complete Verification Workflow
Managing multiple accounts on platforms like Amazon, Facebook, or TikTok demands more than just separate logins. Even with an anti‑detect browser, a single fingerprint leak can link your accounts and trigger bans. That’s why pairing AdsPower with BrowserScan is becoming the go‑to strategy: you build the isolated environment in AdsPower and then prove it’s leak‑free with BrowserScan before logging in.
This guide walks you through the exact workflow, from profile creation to interpreting BrowserScan’s score, so every browser environment you ship is clean, consistent, and undetectable.
Why Pair AdsPower with BrowserScan?
How to Use AdsPower Fingerprint Browser with BrowserScan (Setup Guide) product interface and feature overview.
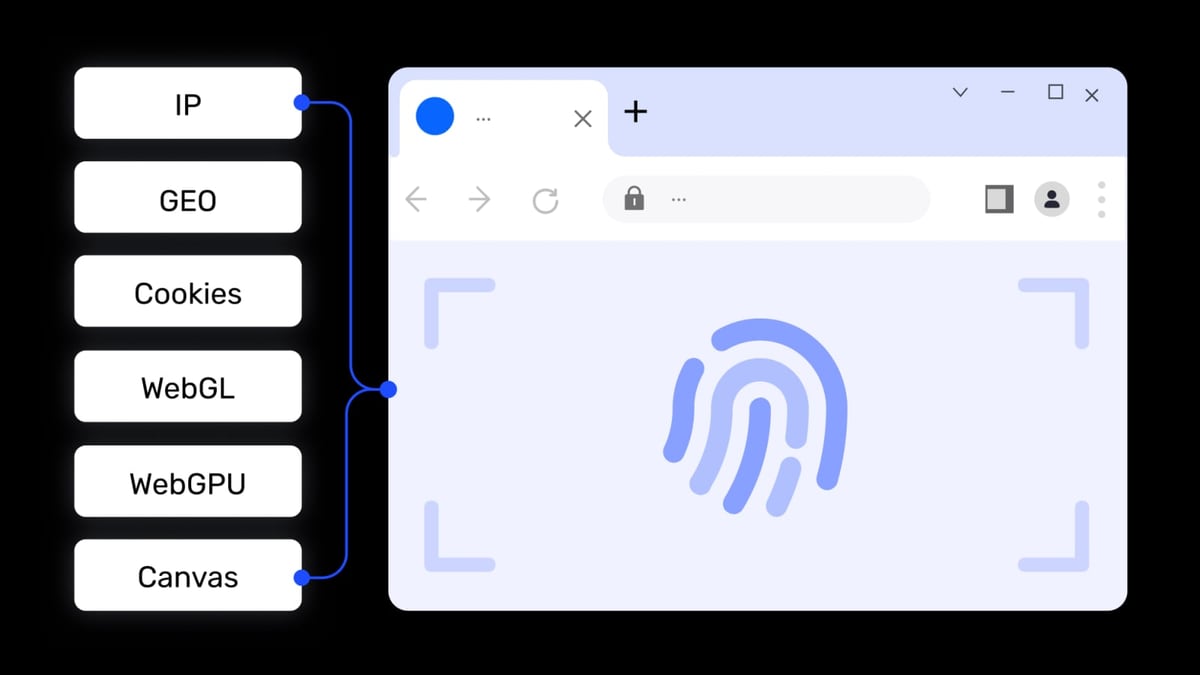
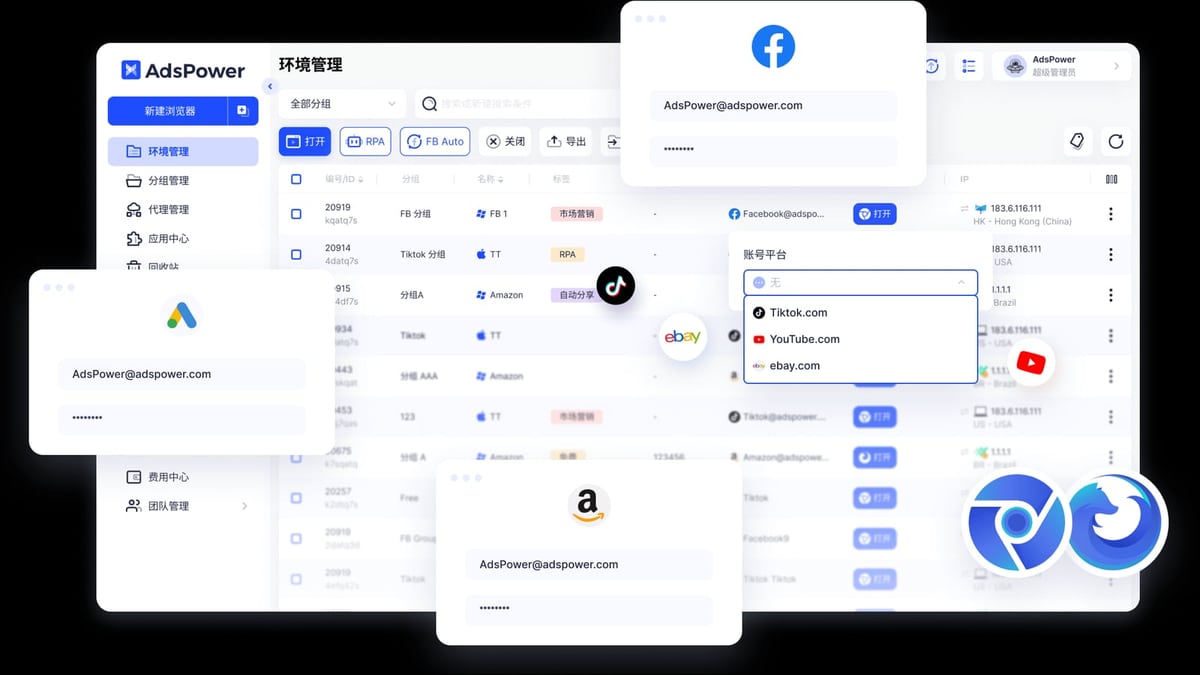
AdsPower excels at creating independent browser profiles – each with its own cookies, cache, and over 20 customizable fingerprint parameters (Canvas, WebGL, Audio, WebRTC, and more). But a misconfigured proxy, a wrong WebRTC setting, or an overlooked timezone can still reveal your real identity. That’s where BrowserScan comes in: it’s a free, plugin‑free online suite that scans your current browser environment and returns a trust score plus a detailed breakdown of every detectable fingerprint.
Because AdsPower isolates each profile completely, opening BrowserScan inside one environment tests only that specific profile – there’s zero cross‑contamination. This makes the combination a bulletproof shield:
- Before you use an account: Run BrowserScan to catch inconsistencies between your proxy and fingerprint settings.
- After AdsPower updates: Re‑test to ensure new versions haven’t altered masking.
- When scaling: Batch‑verify that all team‑shared profiles still pass.
Step-by-Step Guide: Setting Up AdsPower and Verifying with BrowserScan
How to Use AdsPower Fingerprint Browser with BrowserScan (Setup Guide) product interface and feature overview.
Step 1 – Install AdsPower and Create a Browser Profile
Download AdsPower for Windows, macOS, or Linux and install it. Once launched, click New Browser to start a profile. Give it a meaningful name (e.g., “Amazon‑US‑Account1”). For the Browser Kernel, choose SunBrowser (Chromium‑based) for most use cases; FlowerBrowser (Firefox‑based) offers additional privacy layers. Leave the default OS type and stick with random fingerprint generation for now – we’ll refine the settings manually.
Step 2 – Configure Proxy Settings (Crucial)
In the same creation window, you must add a proxy. AdsPower supports HTTP, HTTPS, SOCKS5, and SSH proxies. Enter your proxy host, port, and credentials. For a smoother workflow, you can import proxies from integrated partners like Bright Data or Oxylabs directly under Proxy Management. If you need reliable residential or mobile IPs, consider browsing our list of top proxy and web scraping platforms for high‑quality options that work seamlessly with anti‑detect browsers.
Make sure the proxy’s geolocation matches the digital fingerprint settings you’ll configure in the next step – a US proxy paired with a European timezone is a red flag.
Step 3 – Adjust Fingerprint Parameters for a Realistic Identity
AdsPower exposes every critical fingerprint setting. A solid starting point:
- User Agent: Select a UA that matches the browser kernel and OS. AdsPower’s database includes Windows, macOS, Android, and iOS UAs.
- WebRTC: Choose Forward (forces Google’s STUN servers) or Replace (spoofs the IP to match your proxy) for high‑security sites like eBay. Avoid Real, as it leaks your actual IP. Full details on each WebRTC mode are available in AdsPower’s fingerprint documentation.
- Timezone & Geolocation: Set both to Based on IP so they automatically align with your proxy.
- Language: Choose Based on IP to mirror the proxy’s region.
- Screen Resolution: Leave at Predefined (matches the User Agent) or use Random for diversity.
- Hardware Noise (Canvas, WebGL, Audio): Enable noise on all three. This injects consistent, randomized data into read‑outs, masking your real hardware without breaking functionality.
Save the profile. You can always tweak these later after the first BrowserScan test.
Step 4 – Launch the Browser Environment and Open BrowserScan
Click Open on your new profile. Inside the isolated browser, navigate to https://www.browserscan.net/. The site will instantly run a comprehensive fingerprint scan – no plugins needed. You’ll see a dashboard with a Browser Fingerprint Score (out of 100) and expandable sections for every detectable parameter.
Step 5 – Interpret the BrowserScan Results
An ideal score is 90+, meaning your environment looks like a genuine, untampered browser. Pay attention to these key checks:
- IP & Geolocation: The IP should match your proxy settings, and the geolocation data (latitude/longitude) must be consistent with the timezone.
- WebRTC Leak: The “Public IP” under WebRTC must not show your real IP. If it does, change your AdsPower WebRTC mode to Forward or Replace.
- Canvas Fingerprint: A “noise‑enabled” profile will show a unique hash that differs from your host machine’s – that’s good.
- Timezone & Language: Verify they align with the IP. A mismatch reduces the score.
If you see a low score, BrowserScan highlights the problematic parameters in red. Hover or click them for explanations.
Step 6 – Adjust Settings and Re‑test
For example, if the scan shows a WebRTC leak, go back to AdsPower (close the profile first), edit the profile’s Advanced Fingerprint Settings, and switch WebRTC to Forward. Re‑open the profile and refresh BrowserScan; the leak should disappear and the score should jump. Repeat for any other flagged issues – sometimes a simple language change or enabling hardware noise can bump the score from 70 to 98.
Once you’re satisfied, you’ve got a verified, production‑ready environment.
Step 7 – Lock Down and Deploy
Close BrowserScan, clear any initial browsing data if desired, and log in to your target platform. Because the fingerprint is clean and consistent, the site sees only what you want it to see: one device, one IP, one user.
Common Issues and How to Fix Them
How to Use AdsPower Fingerprint Browser with BrowserScan (Setup Guide) product interface and feature overview.
- Real IP leaked via WebRTC: Switch the AdsPower WebRTC mode to Forward or Replace. If you still see a leak, ensure the “Disable UDP” option is checked (requires patch 2.8.2.0+).
- Timezone doesn’t match proxy: In the profile settings, set Timezone to Based on IP or manually pick the correct timezone.
- Canvas hash identical to host machine: Enable Hardware Noise on Canvas. This additive noise creates a unique but stable fingerprint across sessions.
- Language vs. proxy location conflict: Use Language → Based on IP, or manually set both the language and Accept‑Language headers to the proxy’s native locale.
- DNS leaks: While BrowserScan doesn’t run a DNS leak test by default, you can use its standalone DNS Leak Test tool to verify that DNS requests travel through the proxy tunnel, not your ISP.
Practical Examples
How to Use AdsPower Fingerprint Browser with BrowserScan (Setup Guide) product interface and feature overview.
Managing Multiple Amazon Seller Accounts
You need three separate US seller accounts. Create three AdsPower profiles, each with a unique US residential proxy from different states (e.g., New York, Texas, California). For each profile, set WebRTC to Replace, enable hardware noise, and let timezone and language follow the IP. Open each environment, run BrowserScan, and confirm:
- Score ≥ 95
- IP geolocation matches the state
- No WebRTC or DNS leaks Now you can safely operate all three accounts from one device without risking account linkage.
TikTok Marketing Across Countries
A team handling TikTok accounts for the UK, Germany, and Japan. Use AdsPower’s team collaboration to share profiles. The UK profile uses a London SOCKS5 proxy, Language set to en‑GB, and timezone Europe/London. The German profile uses a Berlin proxy with Language de‑DE. Run BrowserScan in each to validate the fingerprint before posting content. This extra step prevents TikTok from flagging “unnatural” logins from the same device.
Related reading
- Proxy Network Review 2026: Our Honest Verdict - Evidence-based Proxy Network review: explore its residential IP pool, rotating & static proxies, speed, pricing, setup, and ideal use cases. See if it’s right for you.
- Incogniton Review 2025: Features, Pricing & Honest Verdict - Evidence-based Incogniton review: see how this anti-detect browser handles multi-account management, fingerprinting, proxy setup, and whether it's right for you in 2025.
- Top 10 Proxy and Web Scraping Platforms for 2026 - Discover the 10 best proxy and web scraping platforms of 2026, ranked by success rates, proxy network size, and features. Compare Bright Data, Oxylabs, Decodo, and more.
FAQ
Is BrowserScan free?
Yes, it’s a free web‑based tool. You don’t need an account or plugin – just visit and scan.
Can BrowserScan detect that I’m using AdsPower?
No. It simply evaluates the browser fingerprint exposed by the current environment, exactly as any website would. It cannot identify the anti‑detect browser itself.
What’s a good BrowserScan score?
Aim for 90 or above. Scores in the 80s are acceptable for less strict platforms, but anything below 70 usually indicates a leak or inconsistency.
Do I need to run BrowserScan on every single profile?
Yes, at least once. Even though profiles are isolated, subtle differences in proxy settings or OS defaults can create unique leak surfaces. Verifying each one guarantees no weak links.
How often should I re‑test?
Re‑test after any major AdsPower update, proxy change, or when you notice unexpected account checks. Periodic checks (e.g., monthly) are a good habit for high‑stakes accounts.
Are there alternatives to BrowserScan?
Yes – Pixelscan is another popular fingerprint checker that offers deep leak detection. Both are excellent; BrowserScan stands out for its all‑in‑one privacy suite and no‑plugin approach.
Can I use BrowserScan for automation setups?
Absolutely. Many users first verify fingerprints with BrowserScan, then employ AdsPower’s RPA or Local API (compatible with Selenium and Playwright) for scraping or bulk account operations. For a detailed walkthrough on combining AdsPower with web scraping tools, see our guide on how to use AdsPower with ScrapingAnt.
Conclusion – Elevate Account Security with AdsPower and BrowserScan
Relying on an anti‑detect browser alone is a gamble. AdsPower gives you the canvas, but BrowserScan is the inspector that ensures every brushstroke matches reality. By making the scan a mandatory step before you log in, you catch misconfigurations early, protect your account portfolios, and save countless hours dealing with bans and appeals.
Start with AdsPower’s free tier (two profiles) and run your first BrowserScan today. Once you see the peace of mind it brings, you’ll never skip this step. For more ways to fortify your multi‑account operations, explore our top proxy and web scraping platforms and dive into our Pixelscan review to compare fingerprint testing tools.