
AdsPower + Pixelscan: Verify Your Anti-Detect Setup
Take a Quick Look
Learn how to use AdsPower fingerprint browser with Pixelscan to test and verify your browser fingerprints, proxy quality, and anonymity level.
🔥 Limited-Time Offer! Save extra 10% off on your first monthly plan with code: Anitdetect10
Sign upAdsPower + Pixelscan: How to Verify Your Anti-Detect Setup
Setting up an anti-detect browser like AdsPower is only half the battle. The real question is: Is your browser environment truly anonymous? That's where Pixelscan comes in. This guide shows you exactly how to use AdsPower fingerprint browser with Pixelscan to test, verify, and fine-tune your digital fingerprints so your multi-account operations stay secure.
Why You Need to Test Your Fingerprint Browser
AdsPower + Pixelscan: Verify Your Anti-Detect Setup product interface and feature overview.
Even the best anti-detect browser can leak information if configured incorrectly. A single mismatched fingerprint—like a timezone that doesn't match your proxy's location—can flag your account to platforms like Amazon, Facebook, or TikTok. Pixelscan gives you a clear, instant report on what websites see when you visit them, helping you catch and fix leaks before they cause a ban.
What Is Pixelscan and How Does It Work?

AdsPower + Pixelscan: Verify Your Anti-Detect Setup product interface and feature overview.
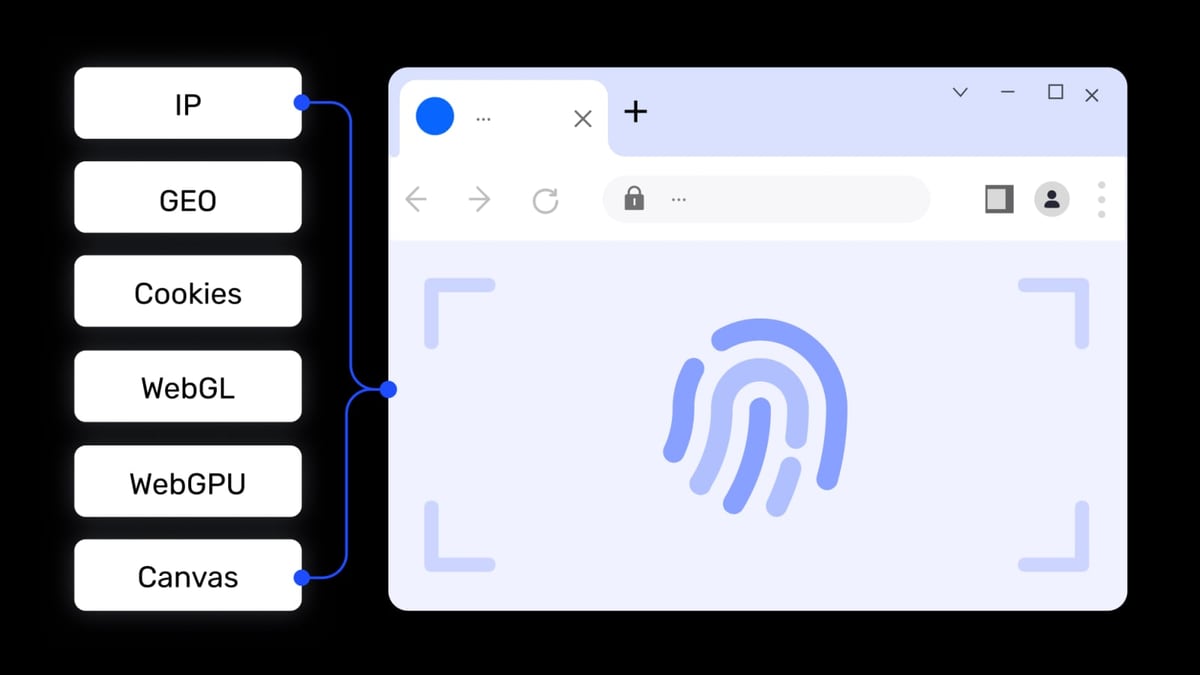
Pixelscan is a free online privacy diagnostics tool. In about five seconds, it analyzes over 20 browser fingerprint parameters—including Canvas, WebGL, AudioContext, WebRTC, DNS, IP, and proxy anonymity—and presents them in a simple dashboard. It stores zero data and requires no registration, making it a safe, transparent way to check your setup.
Step-by-Step: Using AdsPower with Pixelscan
AdsPower + Pixelscan: Verify Your Anti-Detect Setup product interface and feature overview.
1. Create a New Browser Environment in AdsPower
Open AdsPower and click New Browser. You'll see fields for proxy configuration and fingerprint settings. For a fresh test environment, leave the fingerprint settings at their default values initially—you'll adjust them after scanning.
2. Configure Your Proxy
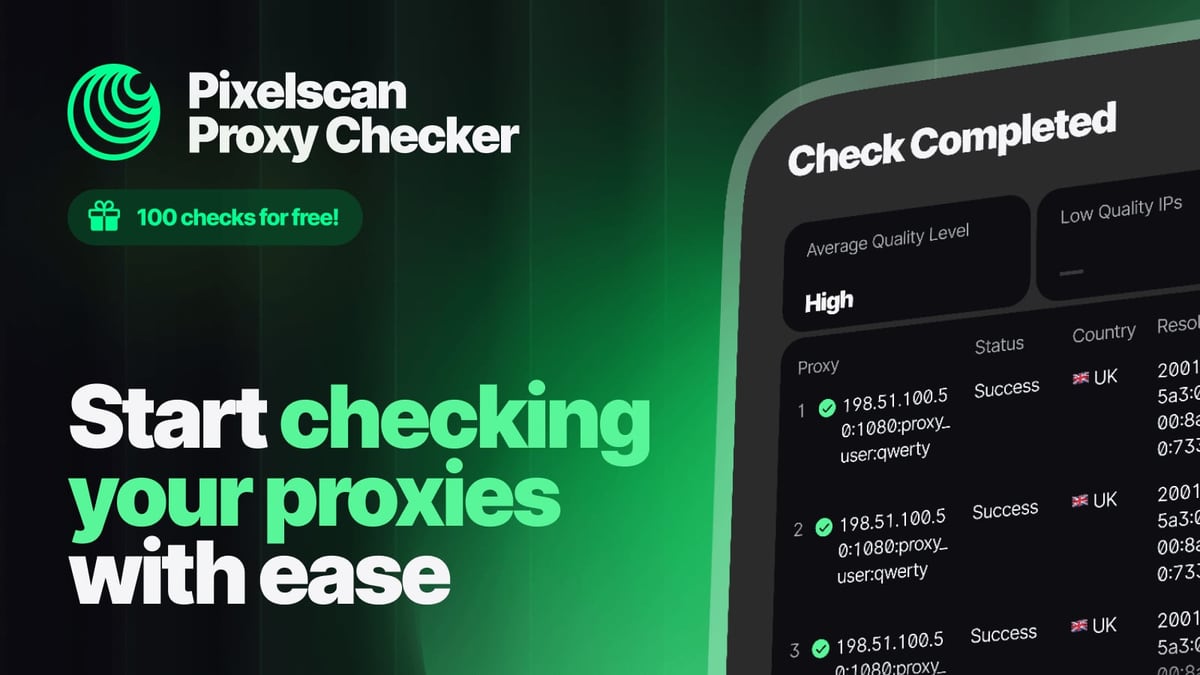
Choose your proxy type (HTTP, HTTPS, SOCKS5, or SSH) and enter the details provided by your proxy service. AdsPower supports custom proxy entry; you can paste the full string (host:port:user:pass) into the proxy host field for automatic filling. Click Check Proxy to confirm the connection is working.
Tip: For the most accurate test, use a proxy that matches the target platform's region. For example, if you're managing a US Amazon account, use a US residential proxy.
3. Open the Environment and Visit Pixelscan
Click Open to launch the browser environment. In the new browser window, navigate to Pixelscan. The tool will automatically start scanning your browser fingerprint.
4. Analyze Your Pixelscan Results
Pixelscan displays several key sections:
- IP & Location: Shows your public IP and geolocation. Verify these match your proxy settings.
- Browser Fingerprint: Lists parameters like Canvas, WebGL, AudioContext, and WebRTC. Each parameter is marked as "Unique" or "Common." For anonymity, you want as many "Common" results as possible.
- Proxy & VPN Detection: Indicates whether your proxy is detected as a proxy or VPN. A clean residential proxy should show as "Not detected."
- Leak Tests: Checks for DNS, WebRTC, and IPv6 leaks. Any leak here means your real IP could be exposed.
5. Adjust Fingerprint Settings Based on Results
If Pixelscan shows a mismatch or leak, return to AdsPower and adjust the corresponding fingerprint setting. For example:
- Timezone mismatch: Set the timezone in AdsPower to match your proxy's location.
- WebRTC leak: Enable WebRTC protection in AdsPower's fingerprint settings.
- Canvas fingerprint too unique: AdsPower's default Canvas noise should already randomize this, but you can verify by scanning again.
6. Re-scan Until Clean
Repeat the scan after each adjustment. A clean Pixelscan report means your environment is ready for account creation or management.
Practical Example: Setting Up a Facebook Ad Account
AdsPower + Pixelscan: Verify Your Anti-Detect Setup product interface and feature overview.
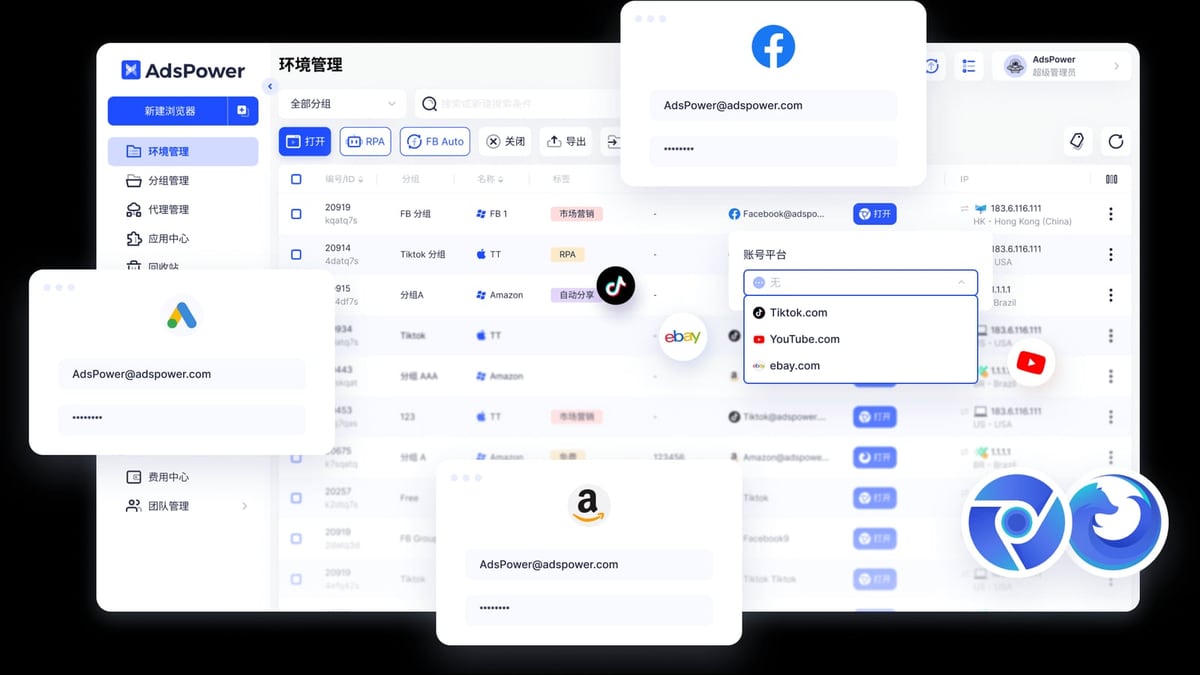
Imagine you need to manage three Facebook ad accounts for different clients in the US, UK, and Australia.
- Create three separate browser environments in AdsPower, each with a unique proxy (US, UK, Australia).
- For each environment, open Pixelscan and check:
- IP location matches the proxy country.
- Timezone matches the proxy location.
- No WebRTC or DNS leaks.
- Browser fingerprint shows mostly "Common" parameters.
- If the US environment shows a WebRTC leak, enable WebRTC protection in AdsPower and re-scan.
- Once all three pass the Pixelscan check, you can safely log into each Facebook account without cross-account detection.
Common Issues Pixelscan Can Reveal
| Issue | Symptom in Pixelscan | Fix in AdsPower |
|---|---|---|
| WebRTC leak | Real IP visible in WebRTC section | Enable WebRTC protection |
| Timezone mismatch | Timezone differs from IP location | Set timezone to match proxy |
| Proxy detected as VPN | "Proxy/VPN detected" warning | Use a residential or ISP proxy |
| Canvas fingerprint too unique | Canvas shows "Unique" | AdsPower's default noise should fix this; update browser if not |
| DNS leak | DNS server location differs from IP | Use a proxy with built-in DNS or configure DNS in AdsPower |
Best Practices for Ongoing Verification
- Scan every new environment before using it for account registration or login.
- Re-scan periodically—platforms update their fingerprinting techniques, and your proxy or browser settings may change.
- Use Pixelscan alongside other tools like BrowserScan or Whoer for a second opinion.
- Keep AdsPower updated to benefit from the latest fingerprint spoofing improvements.
Related reading
- AdsPower vs Linken Sphere vs MoreLogin: 2026 Comparison - Compare AdsPower, Linken Sphere, and MoreLogin anti-detect browsers. Features, automation, security, pricing, and decision guidance for multi-account management.
- AdsPower vs Kameleo vs BitBrowser: Detailed 2026 Comparison - A comprehensive 2026 comparison of AdsPower, Kameleo, and BitBrowser. Analyze fingerprint spoofing, automation, team collaboration, pricing, and key differences to choose the best antidetect browser for multi-account management.
Frequently Asked Questions
Do I need to use Pixelscan every time I open an AdsPower environment?
Not every time, but definitely when you create a new environment or change proxy/fingerprint settings. A quick scan takes only five seconds and can prevent costly account bans.
Can Pixelscan detect all fingerprint leaks?
Pixelscan covers the most common fingerprint parameters and leak tests (WebRTC, DNS, IPv6). For deeper analysis, you can combine it with other diagnostic tools, but for most users, Pixelscan provides sufficient verification.
Is Pixelscan safe to use with AdsPower?
Yes. Pixelscan stores zero data and requires no registration. It's a read-only diagnostic tool—it doesn't interact with your accounts or modify any settings.
What if my Pixelscan results show "Unique" for Canvas or WebGL?
This is normal for a first scan. AdsPower's fingerprint randomization should make these parameters appear more common. If they remain unique, try updating your AdsPower browser environment or adjusting the fingerprint settings manually.
Conclusion
Using AdsPower without verification is like locking your door but never checking if it's actually closed. Pixelscan gives you a simple, instant way to confirm that your anti-detect setup is working as intended. By integrating Pixelscan into your workflow—scan before you act—you reduce the risk of account bans and keep your multi-account operations running smoothly.
For more on optimizing your multi-account setup, check out our AdsPower vs Maskfog 2026 comparison or learn how to combine AdsPower with 5SIM for secure registrations.
Start your next AdsPower session with a Pixelscan check—it only takes five seconds, and it could save you hours of account recovery.